YAGI Antennas vs QUAD Antennas
The long standing dilemma since the begging of studying of directional antennas. I do hope this HamRadio article will shed some light and knowledge to the controversial issue of these two antenna types!


YAGI Antennas vs QUAD Antennas
The long standing dilemma since the begging of studying of directional antennas. I do hope this HamRadio article will shed some light and knowledge to the controversial issue of these two antenna types!
Basic Antenna Information by Lew McCoy W1ICP


Ο Steve Withnell ανέβασε ένα αρχείο στην ομάδα Antenna Building.
24 Δεκεμβρίου στις 5:22 μ.μ. ·
Given the popularity of the Guanella BalUn and more to the point, the prevalence of Guanella baluns that are not that at all, prompted by Owen Duffy's blog, I pulled the original write up by Guanella. I've OCR'd the version I found on the internet and converted it from the magazine 2 column format, to a single column document in the hope of making the article easier to read. I may have introduced errors in the process, you get a bit word blind comparing docs after a while.
The document is worth a look - following on from Owen Duffy's point, that there is no magnetic coupling between coils in Guanella's work. In this document, the coils are air-cored and method of operation of the single winding explained first, then using multiples of the single unit to change impedance transformation ratios.
12 σχόλια
Jim Kennedy
Fig. 5 is just a metal housing with connection points.
· Απάντηση · 3 ημ.
Steve Withnell
Thanks Jim, do you have a decent copy of the image you could share?
Merry Christmas!
· Απάντηση · 1 ημ.
Jim Kennedy
Steve Withnell
Probably not, this is the best I can provide:

Μπορεί να είναι εικόνα κείμενο που λέει "BROWN BO 617971 61797. Fig. 5. Matching unit with double-wire coils."
· Απάντηση · 1 ημ.
Rick Westerman
Steve, what is it you are trying to do? Don't get too hung up on a document that is 75 years old. The technology has come a L O N G ways since then. You'll find a lot better information on building Guanella baluns than that document has. A good starting place is to read G3TXQ's (SK) paper on basic baluns. Then for tips on which toroid(s) to use, you can view his color charts on his web.
I can only post one link here, so I will post the second link in a second post.
Basic Baluns: http://www.karinya.net/g3txq/baluns/baluns.pdf
· Απάντηση · 1 ημ. · Τροποποιήθηκε
Steve Withnell
Rick Westerman Hi Rick. Primarily, I picked up on the document for two reasons. First, it has a clear explanation of how the balun actually works (a rare thing!) and secondly I want to build a 12.5:50 ohm BalUn for a 70MHz antenna I've started work … Δείτε περισσότερα
· Απάντηση · 1 ημ. · Τροποποιήθηκε
Rick Westerman
Steve Withnell Excellent reply, Steve. Now I know exactly what you want to do and I can say that I have vast experience with baluns on the HF bands and have never built one for frequencies above 6m.
First of all, be careful with Sevick. He wrote an excellent book, but like almost all books there are a few mistakes in it; one concerns the 4:1 Guanella, which you wish to build.
The BIGGEST mistake Sevick made is that he suggested that you can build a 4:1 Guanella on a single toroid core. This is not the case. You MUST use two cores.
Your circuit diagram will be exactly the same as with any 4:1 Guanella balun: you must wind two 1:1 Guanella baluns, each on its own separate toroid core.
Basically, the 4:1 balun will transfer 4:1, regardless of what its input and output impedances are.
I would suggest winding 4 or 5 turns of COAX onto each 1:1 balun. When you parallel their inputs and series their outputs, this will give you a balun with 25 Ohms on the input and 100 Ohms on the output. So it will have a 2:1 SWR, but due to short lengths, this is trivial for hf frequencies.
I don't know how it will work at 70cm.
Gud Luk, and HNY. de DJ0IP
· Απάντηση · 22 ώρ.
Steve Withnell
Rick Westerman Thanks for TXQ's paper on BalUns. I shall go away now and have a read!
· Απάντηση · 1 ημ.
Matt Miller
Rick Westerman tep, keep in mibd that fir decades Sevik was considered the last word. But recently his conclusions has been shown flawed as well.
· Απάντηση · 1 ημ.
Rick Westerman
Matt Miller EXACTLY! And not just recently. I think awareness has only come recently.
· Απάντηση · 22 ώρ.
Charles Tom Rauch
Matt Miller I knew Jerry.
When Jerry was writing his book, I know for a fact I tried to get him to change some things before publication. I know Roy Lewallen W7EL and others did also. Walt Maxwell and Jerry got in quite a private disagreement.
Jerry chose to go ahead anyway without changes.
My conclusion is Jerry was a great guy and quite an experimenter, but never did understand what balance and unbalance was and how a balun worked.
Clearly it is a matter of the public becoming aware, but it absolutely was known by some to be wrong in many critical areas at or before publication. Peer review only works when authors allow it to work.
There are three rules:
1.) never trust one source for critical information (this would go for white papers or books)
2.) always get someone ornery who isn't afraid to disagree and question in the process
3.) the only absolute answers we can universally trust is "I don't know" or "I'm not sure"
· Απάντηση · 3 ώρ.
Steve Withnell
I worked through G3TXQs paper this morning. Excellent. One simple thing, he has actually put the 'dots' on the windings which makes a big difference to understanding the diagrams.
I hadn't seen the hybrid BalUn before - the combination of a 4:1 Ruthroff and a 1:1 Guanella.
The chatter is usually current baluns good, voltage baluns bad. Here we see a hybrid model that can be better than either.
· Απάντηση · 2 ώρ.
Rick Westerman
And here's a link to G3TXQ color charts for building baluns.
Note that there are a few more links on that page, for more detailed information on the various ferrite mixes.
http://www.karinya.net/g3txq/chokes/
Common-mode chokes
KARINYA.NET
Common-mode chokes
Common-mode chokes
I was given as an exchange a KENPRO rotator. At first it was stuck and hard to rotate but using a long screwdriver as a lever I manage to give it a couple of turns and make it sound like grinding stones!


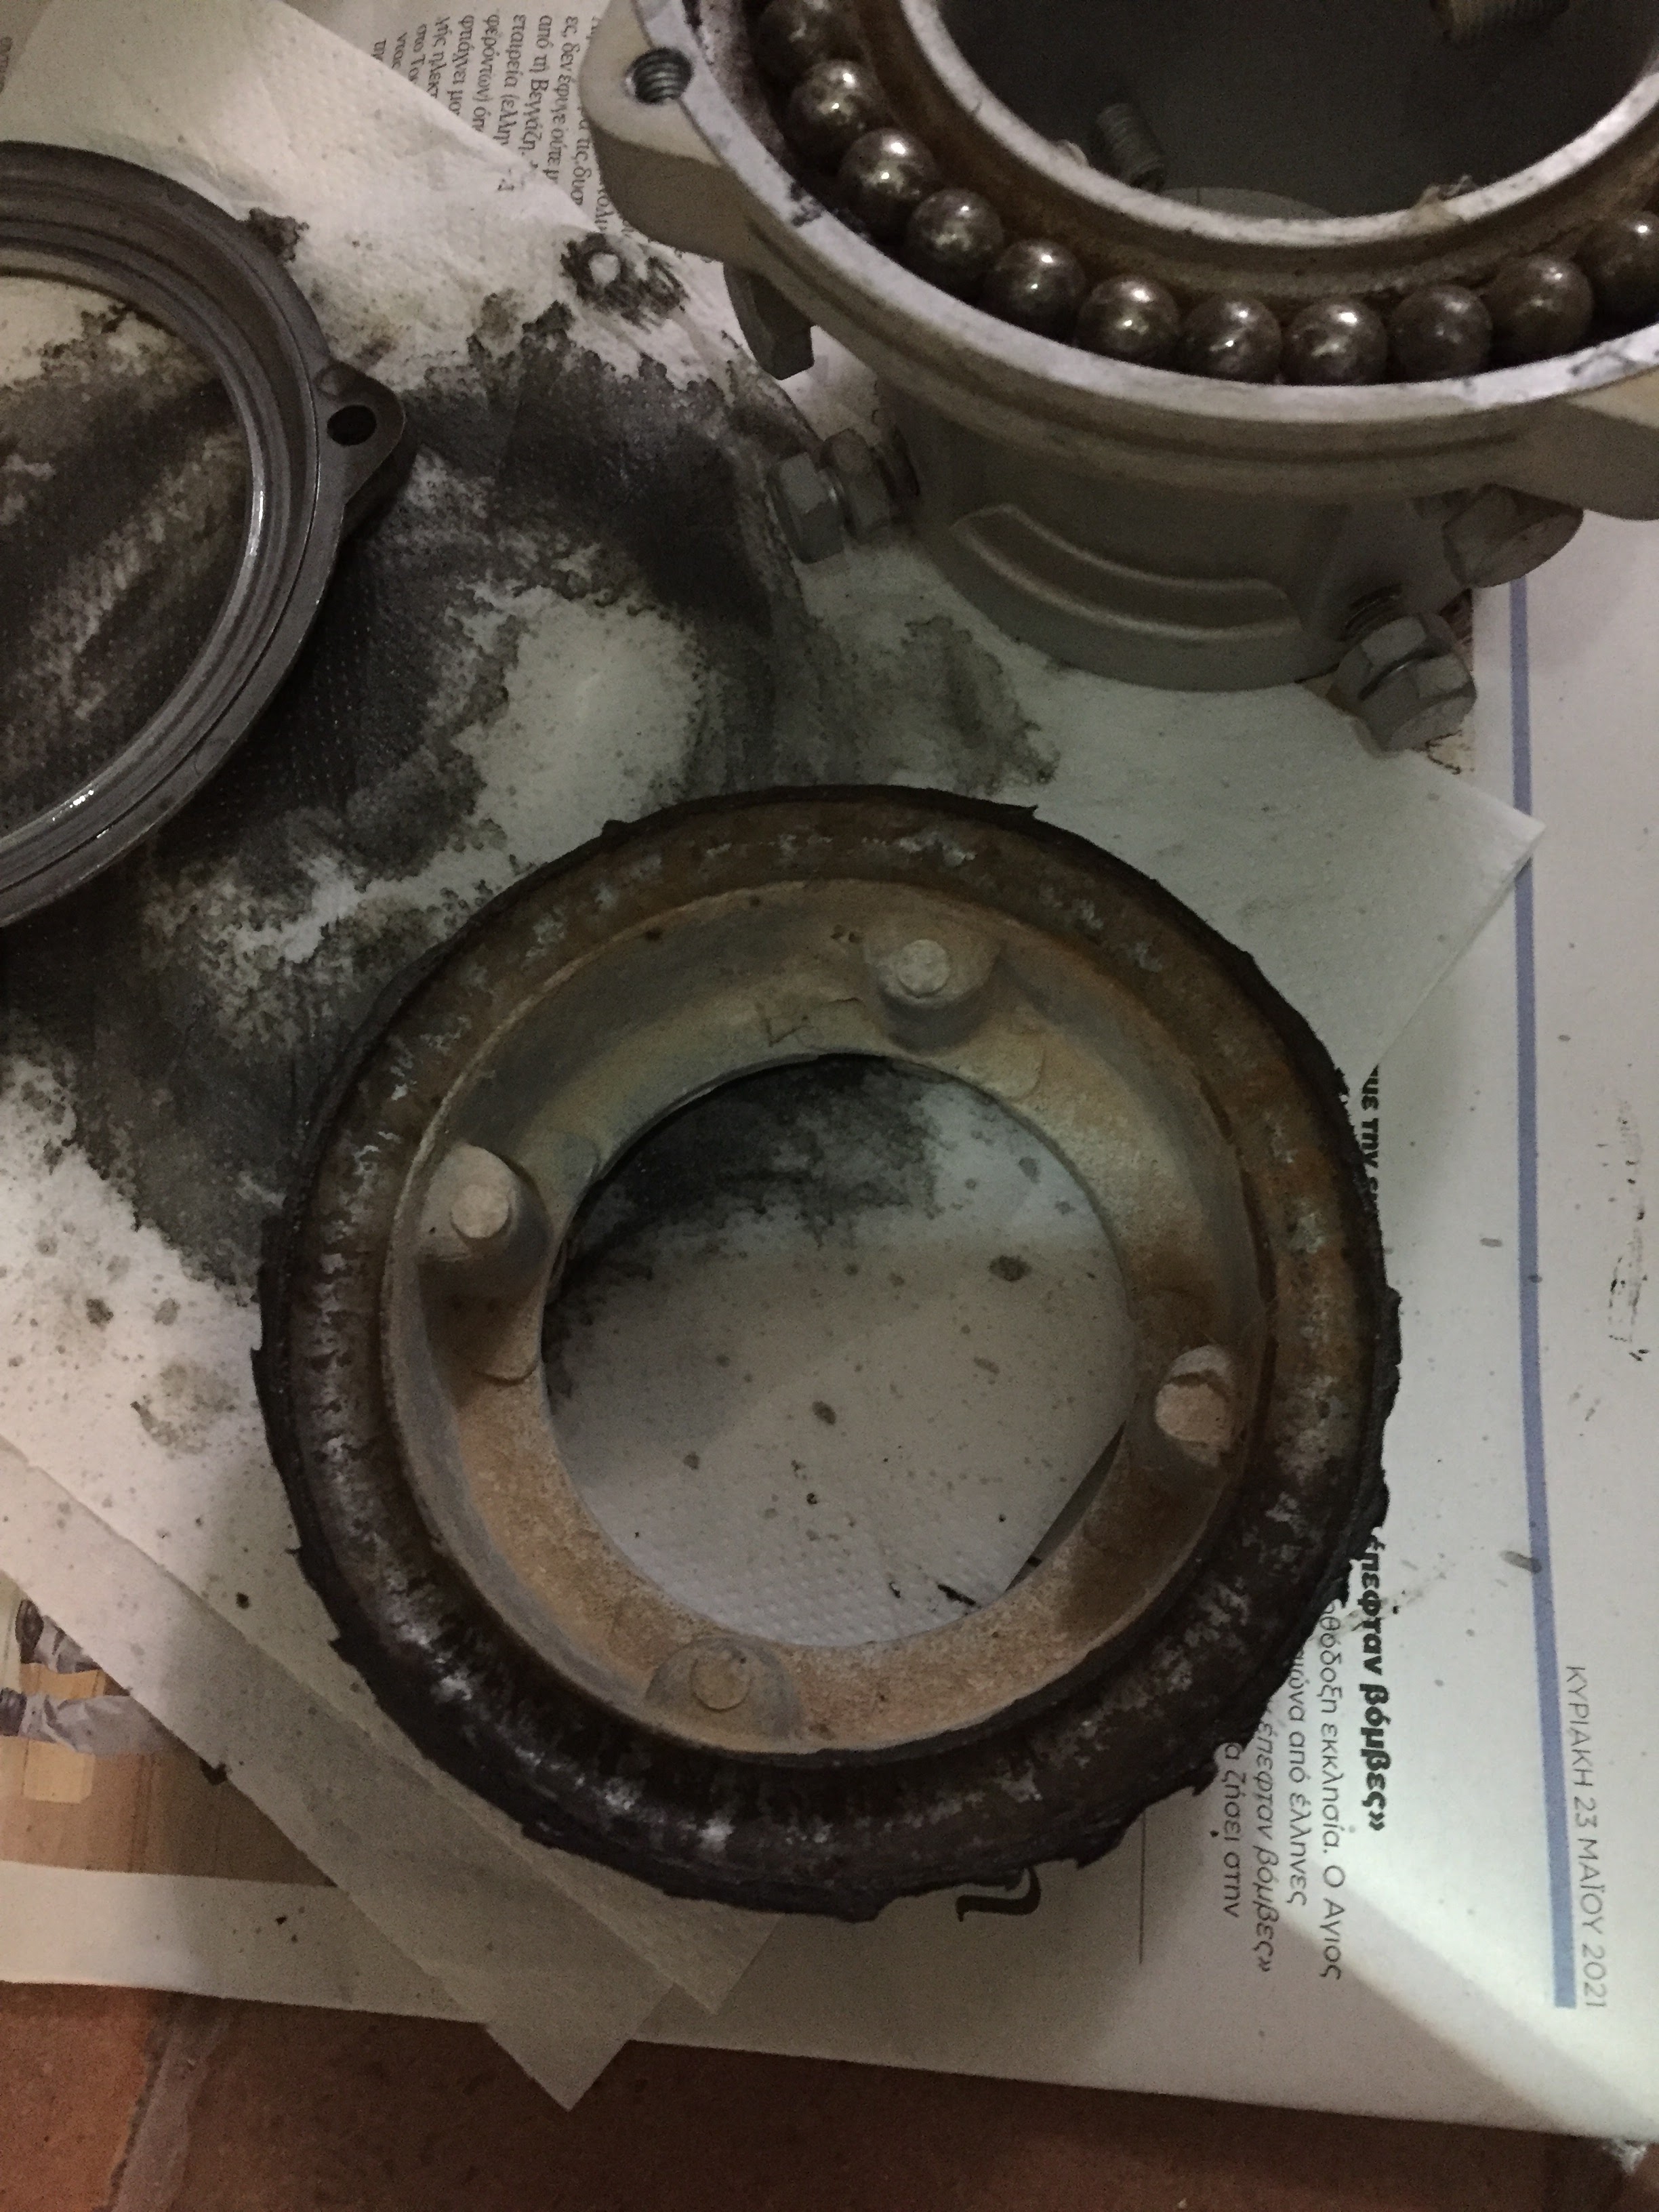

I clean it last night into my shack so I use the less flammable liquid I could use, White Spirit.

I let it soak all night and this morning using a short haired brush I clean it thoroughly and after a general apply of special grease, its like new one rotating freely.

Photos are not great but can can easily spot the red dust on one side due probably to slight misalignment.


